These are not links, as you will notice if you click on one.
One clue is that the status line below does not change when your cursor is over them.
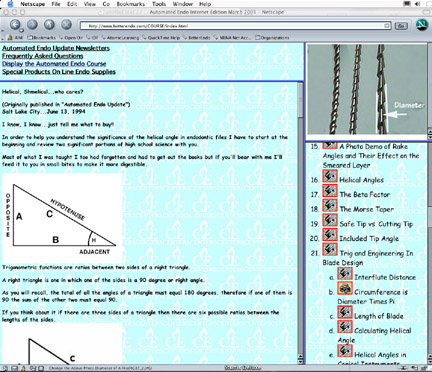
There are four different icons to help you.
- The Camera Icon

 which will display a picture or diagram in the Picture Frame.
- The Script Icon

 which will display text which is scrollable in the Text Frame.
This text in turn may have a Camera icon embedded in it.
When it does, clicking on it will change the picture in the Picture Frame.
This is generally used by the author to display a picture that is pertinent until another is needed. Embedded pictures scroll with the text.
Pictures in the picture frame stay until they is replaced with another one.
- When appropriate clicking on the text icon will also load a picture or other text into the picture window.
- The Video Icon
 which will play a short video clip in the pictures window. If you do not have a DSL or Cable connection to the internet this can be pretty slow. Most of the videos are short(less than 30 seconds) but even that can take several minute do download over a phone line. Of course if you have the CDROM version of this course, the time is pretty quick.
- The Microphone
 icon will start a short sound segment.
This tutorial was designed for and works best using Netscape Navigator browser. It was written on a Macintosh but should work on PCs as well and with most browsers although some features might react a little differently depending on which version of which browser you use.
It has not yet been fully tested with Microsoft or AOL Internet Explorer.
Additionally, there is as yet no text only version available.
(In fact there may never be due to the visual nature of most dental subjects)
It fits the screen better if you will turn off Toolbar, Directory and Location selections Under the Options Menu Item and adjust the width to accommodate the picture box in the upper right. The rest of the boxes will then adjust themselves.
You won't need them for this tutorial and they occupy valuable screen space.
For your information, the BACK function which would ordinarily be in the tool bar can be activated by hitting "command [" instead.
You can of course choose any type face and font size that you choose but the frame and picture sizes were chosen to fit an 18 point font.
Choose any easily readable font you choose.
The colors in the drawings were chosen to blend in with a medium blue background, but again, you can choose any color that makes your top spin, but you will have to go into your options menu and turn off file colors in favor of your own, i.e. Choose Let Document Override.
We suggest that you not do that.
When I decided that this (HTML) was going to be the media choice and authoring method for my 'book' it was because writing a book usually means that what you say is etched in stone.
Thus this is a disclaimer. This electronic book is not finished...it never will be! I will keep adding to it as new information becomes available.
All of the files that constitute this tutorial must be in one directory (folder for Mac users). I suggest you name that folder "COURSE" and a subdirectory named "JPEGHI" for the graphics.
Whenever an update occurs, all changed files will be listed separately in a dated folder (directory).
Thus you can copy all update files to the same folder (directory) in which you keep this course and your copy will be updated replacing any files with newer files with the same names.
You should add the replacement files in date order.
If you were to add the January 2003 update followed by the December 2002 update you would replace newer files with older files.
First of all the data would be old but more importantly some of the links might not work.
The current date will always be listed in the title at the beginning of the outline.
If a file is to be deleted instead of replaced it will simply be replaced by a file with zero bytes.
I suggest you clean out any files with zero bytes.
It won't hurt anything to leave them but they take up disk and folder/directory space.
If you choose not to delete any old files and want to clog up your directories, be my guest.
Just delete any files in the update folder that have zero bytes before you copy to your Automated Endo directory (folder).
You can get telephone support on this tutorial by calling Special Products, Inc. at (800)538-6835 during normal business hours.
In fact most of the time you will get the author of this text, me, Dr. Jack Jacklich.
We do not offer Netscape, Internet Explorer, Safari or general computer help.
Three main subjects will be taught using plastic blocks with straight and curved simulated root canals.